Our Editors independently research, test, and rate what we feel are the best products. We use affiliate links and may receive a small commission on purchases.
Bikepacking requires a lot of planning. While it is obvious to plan your route and make sure your bike is in working order, one thing to also spend a lot of time thinking about is how you will feed yourself on your trip.
When bikepacking, you will find yourself in a constant struggle to eat enough food. Multiple days in the saddle will quickly take their toll if you do not get enough to eat.
A mix of cooking, dining at cafes and restaurants, and foraging is the best way to ensure you feed yourself properly.
You will want to start and end each day with a big meal and enjoy a medium sized meal with a big rest at lunchtime. In between you should top up every hour with a snack.
With some careful planning, you should be able to complete your trip without any hiccups. We have written this guide to help you plan the nutrition for your next bikepacking trip.
Hydration
Before you even think about food, you should first have a clear idea of where you will be able to get water. There is no way that you can carry all the water you need for the whole trip.
Without access to drinkable water, you will get into trouble fast.
Have a look at a map of your route. Where are the settlements where you can fill up your bottles or hydration packs? Are there rivers and streams along the way that you can drink from?
Familiarize yourself with the seasonal weather conditions. If you do not know the region, get some local advice. The last thing you want is to rely on getting water from a stream, only to find it completely dry when you get there.
You also need to find out if river water in the area is safe to drink, or if you need to purify it with tablets or a filter
MSR TrailShot Micro-Filtration System
Remove the guesswork from finding a safe source of water and filter it all with this lightweight, small, and packable filter. Water that has passed through this filter meets U.S EPA standards and NSF protocol P231.
This means that 99.9999% of bacteria and 99.9% of protozoa, as well as particulates will be removed. It cannot filter seawater or remove radiation, neither of which should be a big problem for you.
At just 159 grams, the MSR TrailShot can filter one liter of water each minute. By pumping the bulb, water is sucked through the tube and filter, landing in your bottle as drinkable water.
Having a backup plan is key. This means carrying purification tablets anyway and filling up with more water than you need just in case.
On my first bikepacking trip in the Banks Peninsular in New Zealand, I saw a youth hostel symbol on the map. Back home in the UK, youth hostels are always solid buildings with a water supply, so I expected to fill up with water at this one.
However, when we got there, it turned out to be nothing more than a wooden shed with a water tank half full of dirty water. We had no way to treat it.
We still had some water in our hydration packs but reached our destination dehydrated. A bit more planning would have helped.
Meals, Snacks & More Snacks
If you are planning a bikepacking trip, it is safe to assume that you are used to big rides on consecutive days and are aware of how much more food you will need to eat in comparison to a normal day.
If this is not the case, it is highly recommended to delay your trip until you are comfortable riding a similar distance for the same number of days near your home base to understand how much you will need to eat and drink.
Long distances and many hours in the saddle mean you need to eat a lot. At least a third on top of your normal calorie intake can be expected, depending on your individual metabolism.
What and where you are riding also makes a difference. Knowing this is part of the planning.
On a bikepacking trip it is just as important as ever to eat the correct amount of carbohydrates, protein, and vitamins.
Carbs and protein should each make up at least one third of your diet and luckily, they are easy to consume when bikepacking. Vitamins on the other hand are a bit trickier, as you cannot carry large amounts of fresh fruit and vegetables.
Cooking & Eating on the Trail
Some great meals can be had out in the middle of nowhere and it is not always necessary to actually cook something. Because vegetables are too heavy to carry, you will be mostly restricted to cooking dry foods.
These are great for carbs and protein but lacking in vitamins. Anything you do cook will need to be carried and the more that you plan on cooking, the more fuel you will have to carry.
That is not to say that preparing your own food out on the trail is a bad idea. With a bit of imagination, you can prepare some great meals and some do not even need any cooking.
For example, a breakfast of oatmeal and banana chips is a fantastic way to fuel up before a day of riding as it will give you a hit of carbs and protein.
Just leave oats soaking in water overnight. You can also mix in some powdered milk and some sugar for the extra calories and flavor.
When you wake up, your breakfast will be ready and waiting for you. Just remember to store it somewhere safe and out of the reach of local wildlife while you are sleeping.
For an evening meal, a meal of couscous, mixed with quinoa and protein powder will give you the carbs and protein you need. Add a dessert of dried fruit, nuts and chocolate and you are a happy camper.
Alternatively, quick cook pasta or parboiled rice makes a good carb base for a meal. Avoid anything that takes a long time to cook as these will burn through more of your fuel.
While fresh fruit and vegetables should generally not be carried, the exception is avocados, which are very calorie dense. They are also delicious and taste great with almost any meal!
A Note on Wildlife
Wild animals like food just as much as you do and most of them are graced with a nose that is very good at sniffing out anything tasty. This means that any food you have with you will be on the radar of the local animals.
How much of a problem this is depends on where you are riding. A few ants in your snacks is a minor concern, whereas a possum helping itself to an avocado in the middle of the night is annoying.
A bear entering your tent to get your cookies could be the end of your trip and your life. Educate yourself about the local wildlife and regulations, and plan accordingly. Keep your food in your tent or packed away in bags to keep smaller critters away.
Get a bear cannister, especially if the local laws require it, or invest in a lighter and easier to carry bear bag and bear spray to keep your food safe and bears away from where you are sleeping.
Dining
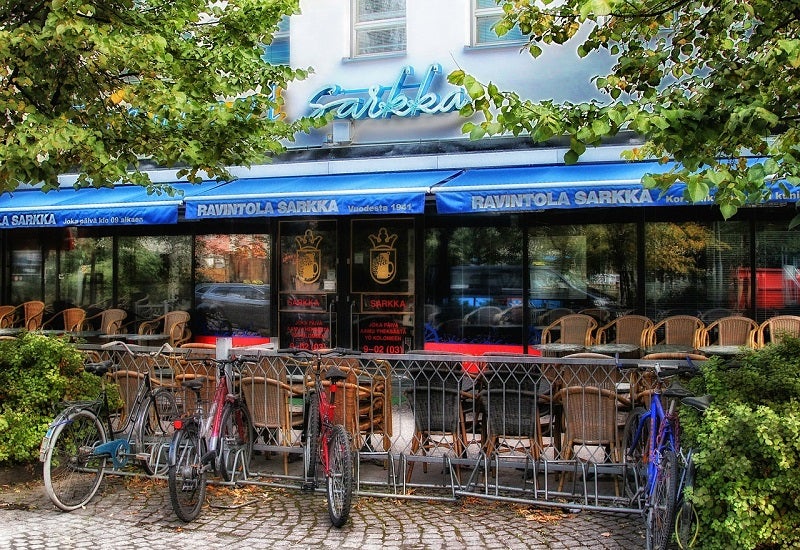
If there are towns on the route, plan at least one big meal each day to come from a restaurant. Getting a proper warm meal with fresh ingredients cooked by someone else feels great at the end of a long day of riding.
Plus a restaurant will probably serve cold beer. Just saying…
If you stop somewhere for lunch, avoid greasy food as it will sit heavily in your stomach for a couple of hours and you will start riding again feeling sluggish rather than refueled.
Although normally a terrible choice, a burger from your favorite fast food joint is cheap, quick, and extremely calorie dense. For this reason such restaurants are a popular choice with long distance bike packing racers
It could be worth ordering two meals and getting one packed up to take with you. Just make sure you have thought about how you will transport it on your bike.
For example, a pizza box will be almost impossible to fit into your packs but you can cut the pizza up and squeeze it into a couple of single slice boxes if they have them.
Ask the restaurant if they can help you. Burritos or anything else wrapped up in bread and packaged in foil are easy to transport and make for a filling meal in the evening.
Don’t forget that local knowledge is invaluable when bikepacking, so ask at restaurants for advice on your route. If you are lucky, you will hear about any problems in advance and can plan accordingly.
Avoid places that look like they do not have the best hygiene standards. You do not ever want to deal with food poisoning, but especially not on a bike packing trip where you may first feel the effects in the middle of nowhere.
If the restaurant does not look clean, then go elsewhere.
Foraging
In between your meals, you will want to stop and eat a snack after every hour to hour and a half of riding. Aim to eat 30-60g of carbs each time you stop. You can rely on some homemade snacks on the first days, or raid supermarkets and gas stations along the way.
Pre-made PBJs and flapjacks (the british ones made from oats) are quick and easy to prepare. The same goes for any sandwich. Once flattened, they do not take up much space. Dried fruit and nuts are also good choices that can be packed and carried easily.
Whenever you see a store along the way, stock up on snacks. Cans of tuna, beans, jerky and nuts can top up your protein levels. Biscuits, cereal bars, and savory snacks are cheap and have loads of carbs to keep you pedaling.
Savory snacks in particular will help you to replace the electrolytes that have been sweated out. Natural and unprocessed food is easiest to digest.
Check the list of ingredients on the packaging and choose the snacks that have the least ingredients with as few chemicals that you do not recognize as possible.
Out on the trail it is possible to find many sources of food, as long as you know what to look for. Berries, fruit and nuts can be found depending on the season and what grows locally.
Fishing enthusiasts might want to take a line and hook.
Knowing what to look for and what is safe to eat is key to this, as well as knowing the legality of foraging and hunting. Once again, it pays to do your research to avoid any legal or poisoning problems.
If in doubt, do not eat it!
Plan, Ride, Eat, Enjoy!
Being hungry is not fun, especially at the end of a long day of bike packing. There is no reason why you should have to go hungry at any point on your trip, as long as you have done your planning.
Knowing exactly where you will be getting your next meal from removes any uncertainty and having some backup food, as well as a backup plan for emergencies means you will stay full and safe on your trip.
While unexpected situations can make a normal adventure into an epic once, this is not necessarily a good thing, so we highly recommend keeping things as safe as possible and not cutting a trip short due to a lack of water or rumbling tummy!
Before we finish I would recommend the following equipment:
I hope this guide was helpful for planning your bikepacking trip. If you want to comment or make some recommendations, please use my contact form to get in touch.
Have fun and be safe out there!

