Our Editors independently research, test, and rate what we feel are the best products. We use affiliate links and may receive a small commission on purchases.
Do you enjoy hiking through the great outdoors? It’s fantastic when you glimpse the wonders of Nature. An eagle swoops down and snatches a fish from the lake.
A mountain lion peers at you lazily from atop a boulder and swishes its tail. Don’t you wish you could capture those moments for posterity? With a wildlife camera, you can.
Wildlife photography is an ideal pastime for anybody who loves birdwatching or hiking through the wilderness. When you share memories with family and friends, you can illustrate them with images.
Whether you’re a rank amateur with a beginner’s camera, or an experienced photographer using a top-of-the-range camera, there’s always room to improve.
Know Your Equipment
We’re lucky to live in this golden age of photography. Over the past 30 years, cameras have undergone a revolution.
Even if you buy the most basic beginner’s camera today, you can guarantee that it’s superior to the camera Kevin Carter used to snap his Pulitzer-Prize-winning photograph The Vulture and the Child in 1993.
But if you want to take great wildlife photographs, it’s not enough to have a good camera. You must also know how to use it effectively. Ideally, you should be able to adjust the shutter speed, aperture, and focusing mode without removing your eyes from the viewfinder.
When that “vulture and the child” moment comes, you won’t have time to think. You must be able to snap that perfect pic in an instant.
Every model of camera has limitations. Once you’ve become intimately familiar with the workings of your camera, you’ll know what you can and cannot do.
This is important when you’re lining up an important shot because you’ll be able to make optimal use of your camera in that situation.
And it’s not only your camera you must become familiar with. Other pieces of equipment, such as your zoom lens and tripod, need to be studied in depth so that you can get the most out of them.

Practice Makes Photographs
Of course, the best way to get to know your equipment is to practice taking photographs. It is also the best way to gain confidence as you learn how to line up perfect shots. The more confident you grow, the better your photographs will become.
When I bought my first camera in the 80s, I could only take 36 photographs before I had to change the reel. Fortunately, modern digital cameras store hundreds of photographs, so you’re not as restricted as I was back in 1984. This means you can practice as much as you like.
Professional photographers usually take many more shots than they need and later select out the best. They might snap hundreds of photographs in search of that elusive perfect image.
Stick To Your Own Backyard
You don’t have to hike into the wilderness to practice taking great wildlife photographs. Do you have a bird feeder in your backyard? Why not open your bedroom window and see if you can get an action shot of those chickadees pecking on nuts? Or maybe the neighbor’s cat sneaking over to try his luck will feature in your next animal-in-action photograph.
There are butterflies and bugs aplenty in your backyard and the local flower park. Use these tiny yet fascinating creatures to practice your close-up and action shots.
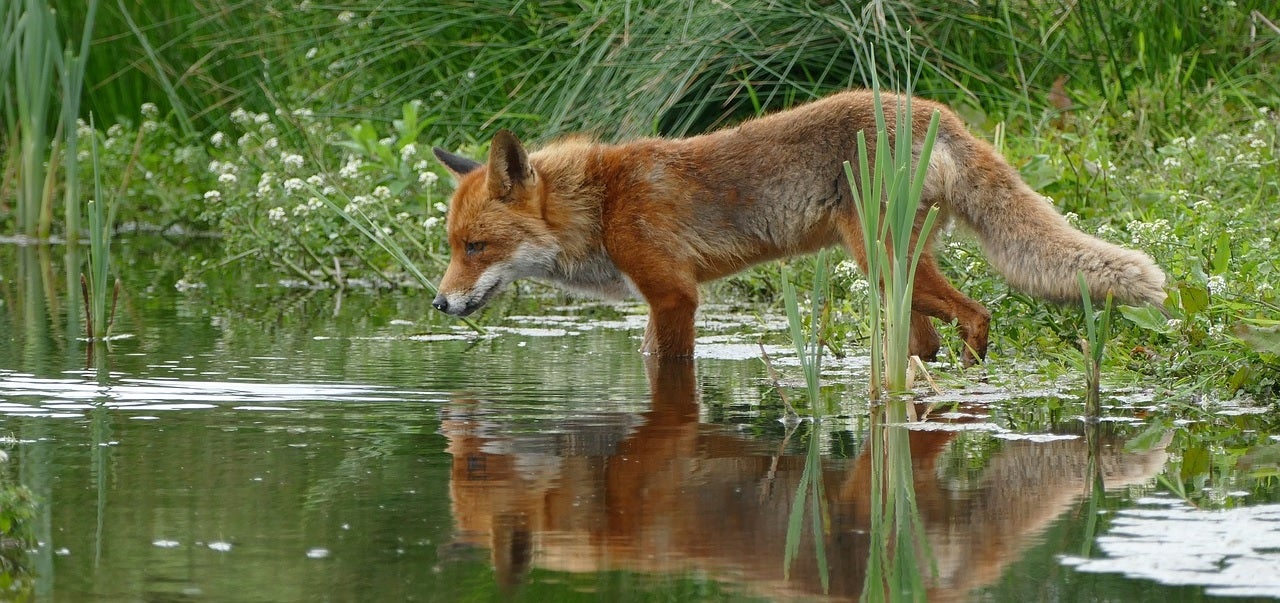
And take the time to research the urban wildlife that lives alongside humans. The best wildlife photograph my friend ever took was of a fox sitting peacefully side-by-side with a housecat on his lawn, which is very unusual.
Know Your Prey
If you aim to photograph a specific kind of animal, you should do your research. If you understand a creature’s behavior, you’re more likely to be able to position yourself to capture the perfect photograph. Observation over a period will provide you with the knowledge you need to get the best snaps.
For example, if you want to photograph bald eagles in a nearby state park, you should visit the park regularly and take a pair of birding binoculars. Observe the birds from a distance. See where they perch and what they do. Then, when you have built up enough information, position yourself in the best place to take an action shot of your favorite bird.
Ask A Local
If you ask around, you can often glean useful information about wildlife from people who live and work close to wherever you want to photograph the wildlife. If you’re looking for prairie dogs in a national park, ask a ranger.
If you’re looking for deer in the woods, visit a local gun shop and ask the staff and local hunters where you should go. (But out in the woods, wear a high visibility jacket so that you don’t take a bullet in pursuit of your picture).
Often you will find organized tours where local guides take keen photographers to places where specific kinds of wildlife can be found. For example, if you want to snap humpback whales breaching the waves in Hawai’i, Mexico, or Iceland, you’ll be able to join a tour led by a local.
Alternatively, you could simply ask a local which beach or cliff offers the best viewpoint from which to observe whale behavior.

Head Out Into The Wild
Once you feel comfortable with your equipment and believe you have gained enough experience, you might decide to head out into the wilderness. Before you go, make sure you make adequate plans and take the right equipment.
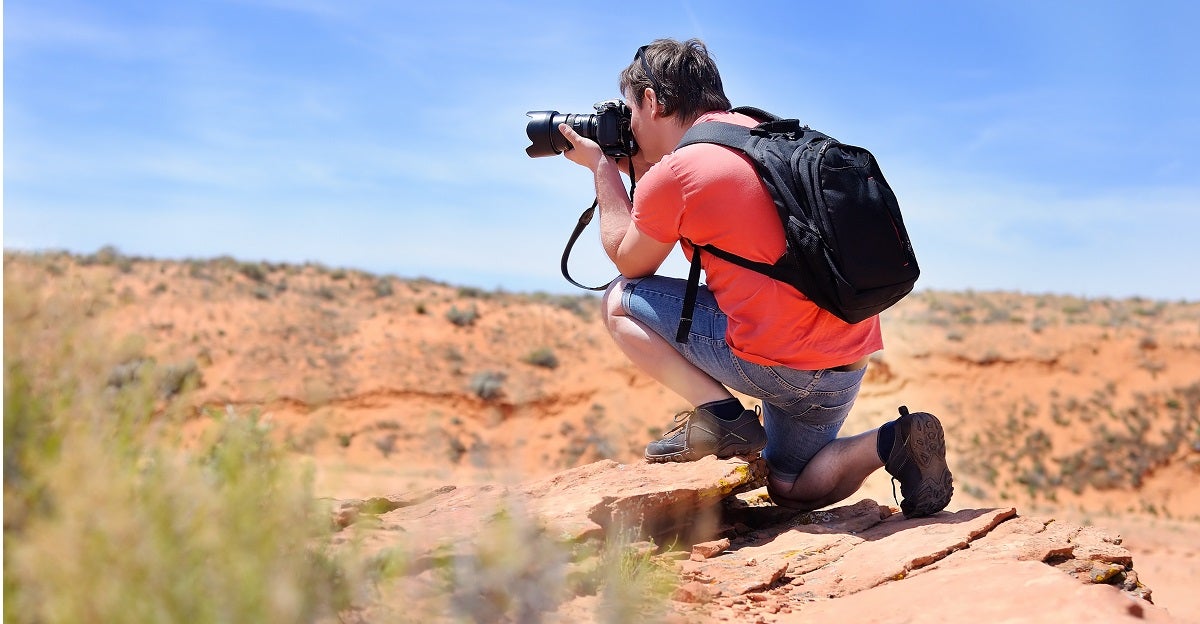
To ensure your expensive camera and other delicate equipment remains safe while hiking across rough terrain, you should use a purpose-made camera backpack. To keep the weight of your backpack to a minimum, you could buy a specialized hiking camera.
Once you’ve reached a great place to take photographs, you might want to do some long-distance observation to gather intelligence on your chosen subjects. Rather than taking along your bulky binoculars, you can get lightweight and compact hiking binoculars.
Or you could even take a monocular. Monoculars are not only lighter than traditional binoculars but also offers the advantage of quicker focus when the creatures you want to photo are on the move.
Don’t Be Squeamish
If you want to take wildlife photographs, you’ve got to accept that carnivores must eat. Vultures will peck out the eyes of a corpse, and scavengers will come along to tear apart a dying deer. Some of the best wildlife photographs feature life or death situations.
Patience Is A Virtue
If you really want to capture the perfect image, you may have to wait a while. Be patient! Take the time to observe your subject with your binoculars. Learn their patterns of behavior and habitat.
Once you know your subject well, you can settle in to wait in a perfect spot. Sometimes the most amazing wildlife shots come through sheer luck, but most of them are the result of hours of patience and persistence.
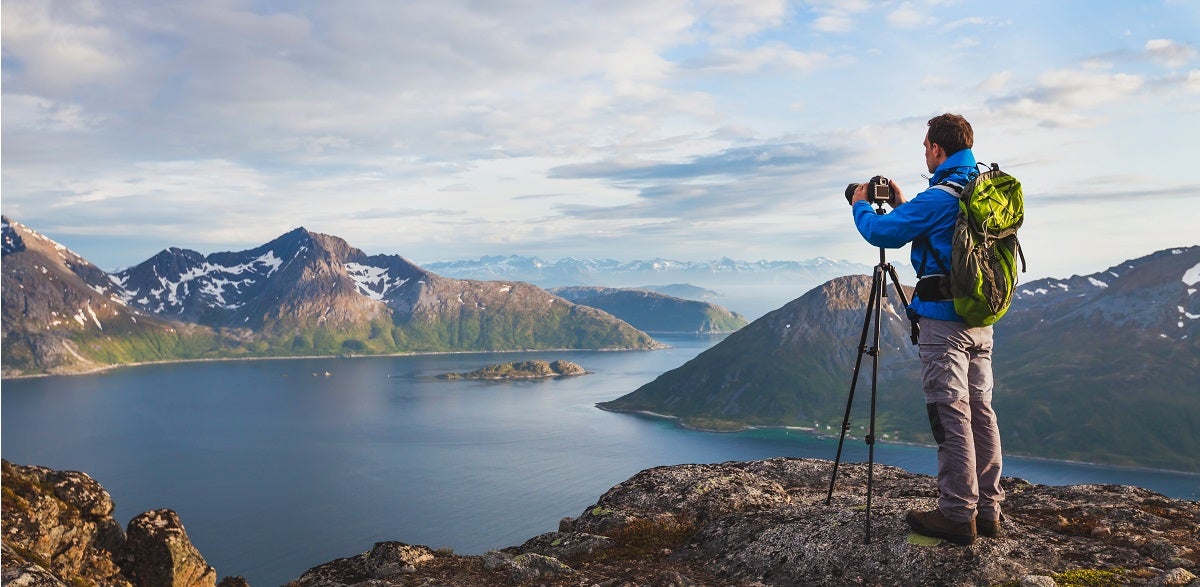
And if your subject is limited to a specific location, like an eagle feeding its young in their nest, then you can drag out your extra-powerful zoom lens and tripod to set up the perfect shot hours before it happens.

What Makes A Good Wildlife Photograph?
Generally, 3 things make for the perfect wildlife photograph: composition, lighting, and simplicity.
Composition
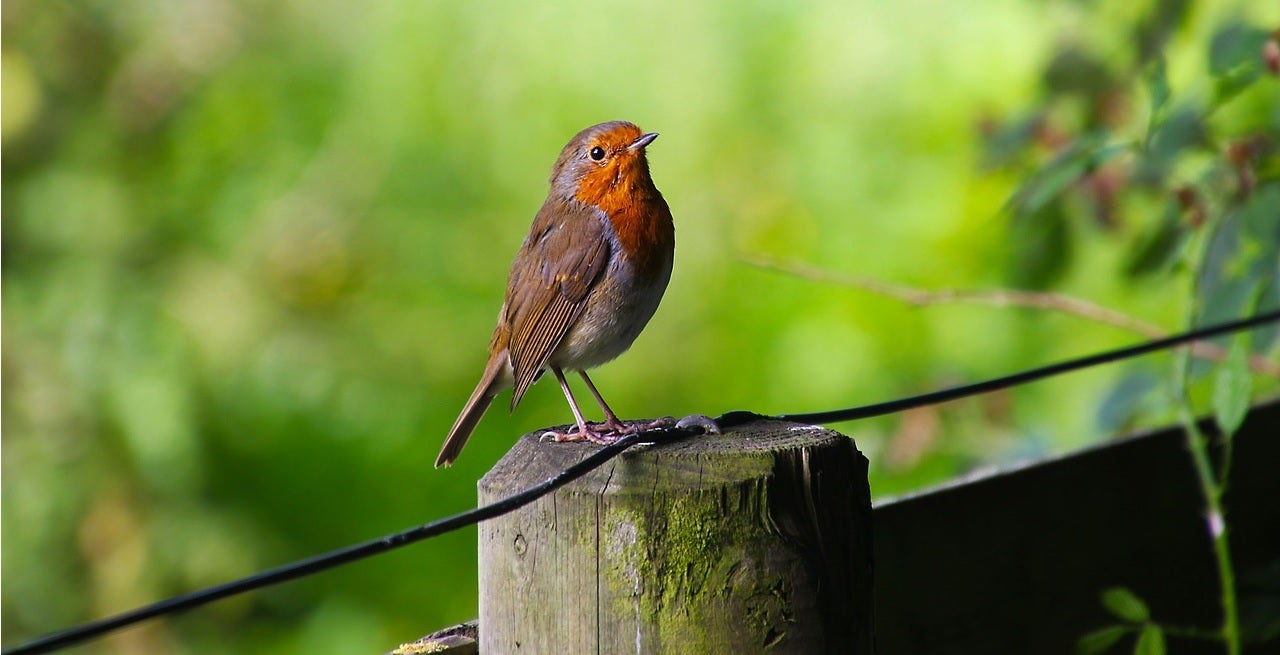
Wild animals are… well, wild. That means they’re unpredictable and tend to move without warning. When photographing, for example, a crow sat atop a fencepost, don’t place the crow in the center of the image. Instead, anticipate its most likely direction of movement.
If the crow is likely to fly off toward the upper left of your viewfinder, move your camera so that the bird is toward the bottom right of the image. Ideally, the center of the bird should be one third up the image and one third across from the right edge of the image. Should the crow take flight, you’ll have a fantastic shot of a bird leaping into the sky.
The “rule of thirds” applies to any shot of an animal, even if it doesn’t move. Placing the creature in a slightly off-center position makes for a more aesthetically pleasing image.
The direction the creature is looking is also important for composition. If the animal is looking directly at the camera, that’s great. If not, its angle of sight should be at most perpendicular to the camera and preferably more toward the camera.
Lighting
Adequate light is essential for a good photograph. Some wildlife photography is better done at night, for which you’ll require special equipment. But generally, the best time to take wildlife photographs is during the “hours of golden light”.
The “hours of golden light” are the earliest and latest parts of the day when the sun is low in the sky. That means that dedicated wildlife photographers will often begin at the crack of dawn or hike to remote locations with the aim of arriving there shortly before sunset for the best lighting conditions.
The middle of the day is often a bad time to take photographs, especially in summer. The shadows are too deep and there is too much risk of glare or reflection.
Simplicity
Often less is more in photography. In nature, there’s usually a lot happening at once. But when you take a wildlife photograph, the best images are those where a specific animal (or group of animals) is in focus with minimal background chaos to distract from the main feature.
When looking through the viewfinder, try to adjust your angle until there are as few distractions from the subject as possible. Bright things in the corners and edges of the image are especially troublesome. Your aim is to deliver a clear message to anybody viewing the photograph.
Enjoy Yourself!
The most important point of wildlife and birding photography is for you to appreciate nature. Enjoy the experience and seize the moment. The more photographs you take, the better you’ll get, and the more amazing your wildlife photographs will look.
